 Who doesn’t love a good before and after, am I right? I get the urge to completely redecorate our home more often than I care to admit, so I’ve been trying out some small DIY projects to tide me over. You may remember my desk makeover from a few months ago. 🙂 My most recent subject was our headboard. There wasn’t anything wrong with it per se, it was perfectly pleasant on its own…in that super boring kind of way. As an aside, I’m a huge Jeff Lewis/Flipping Out fan so the fact that I was hammering into something that came from Living Spaces after what they did to him gave me serious pleasure. What can I say I’m a loyal friend. Even to the “friends” I don’t actually know but watch religiously on Bravo.
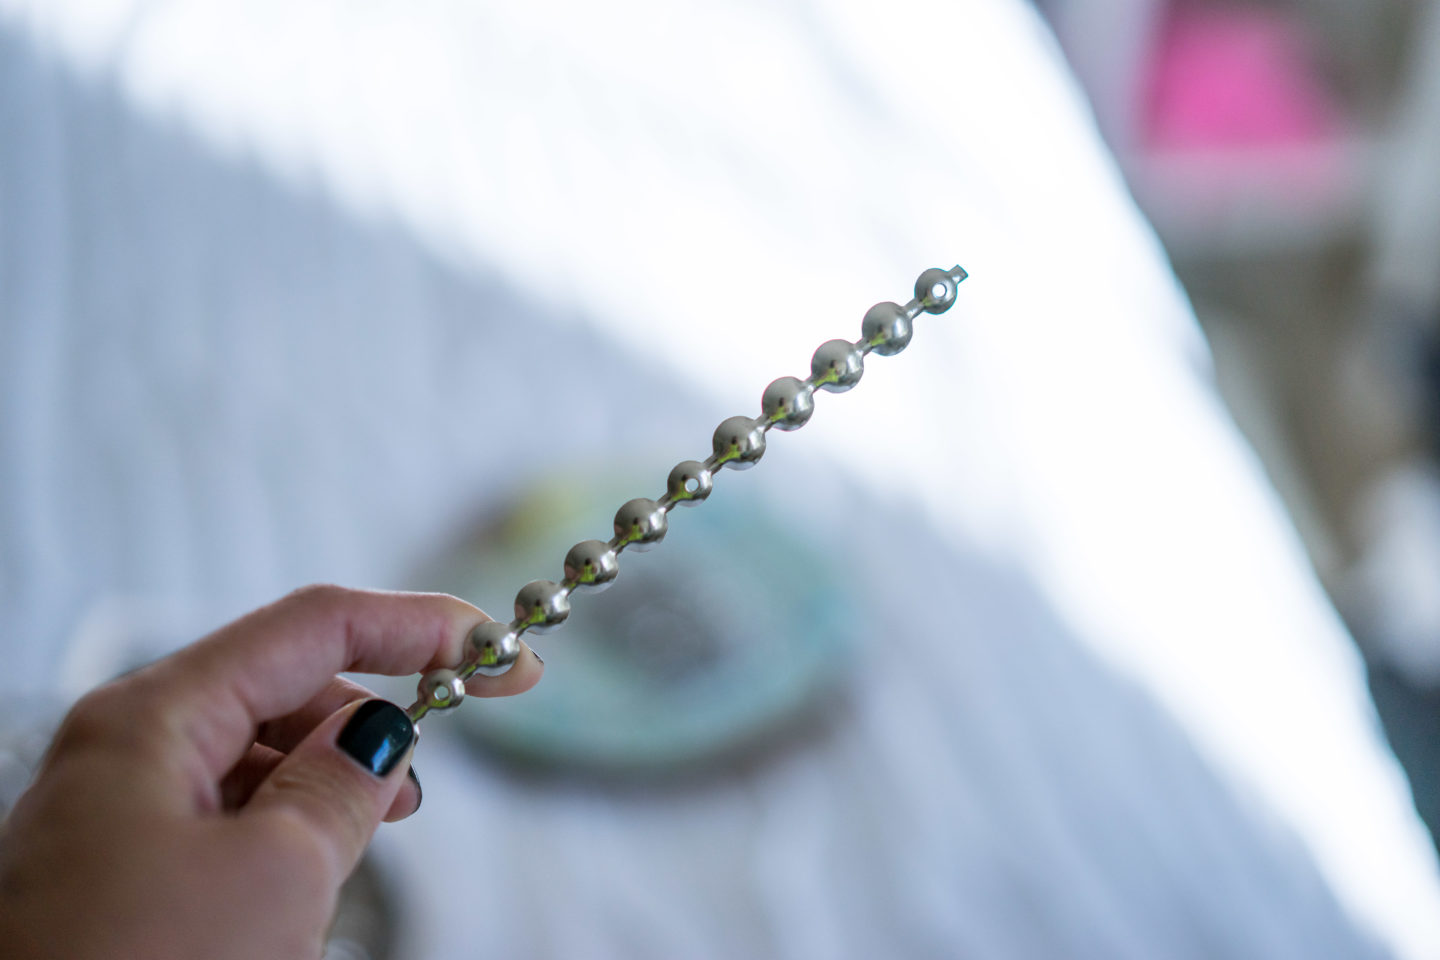
Anyways, we decided to add some subtle bling to it. And by we, I mean Jordan did while I took lots of pictures. It ended up being way more tedious than I initially realized, but all things considered he really did a great job. I didn’t realize how flexible the nailhead trim was (it needs to fit around corners and edges!) until we tried over and over to get it in a perfectly straight line. You only have to actually hammer it in every 5th nail, so I thought it would be simple and quick. It was neither, but once you get the hang of it it really isn’t too bad. I love how it turned out! I got all the supplies off of Amazon for a great deal and even have leftovers for whenever the next nailhead trim desire should strike.
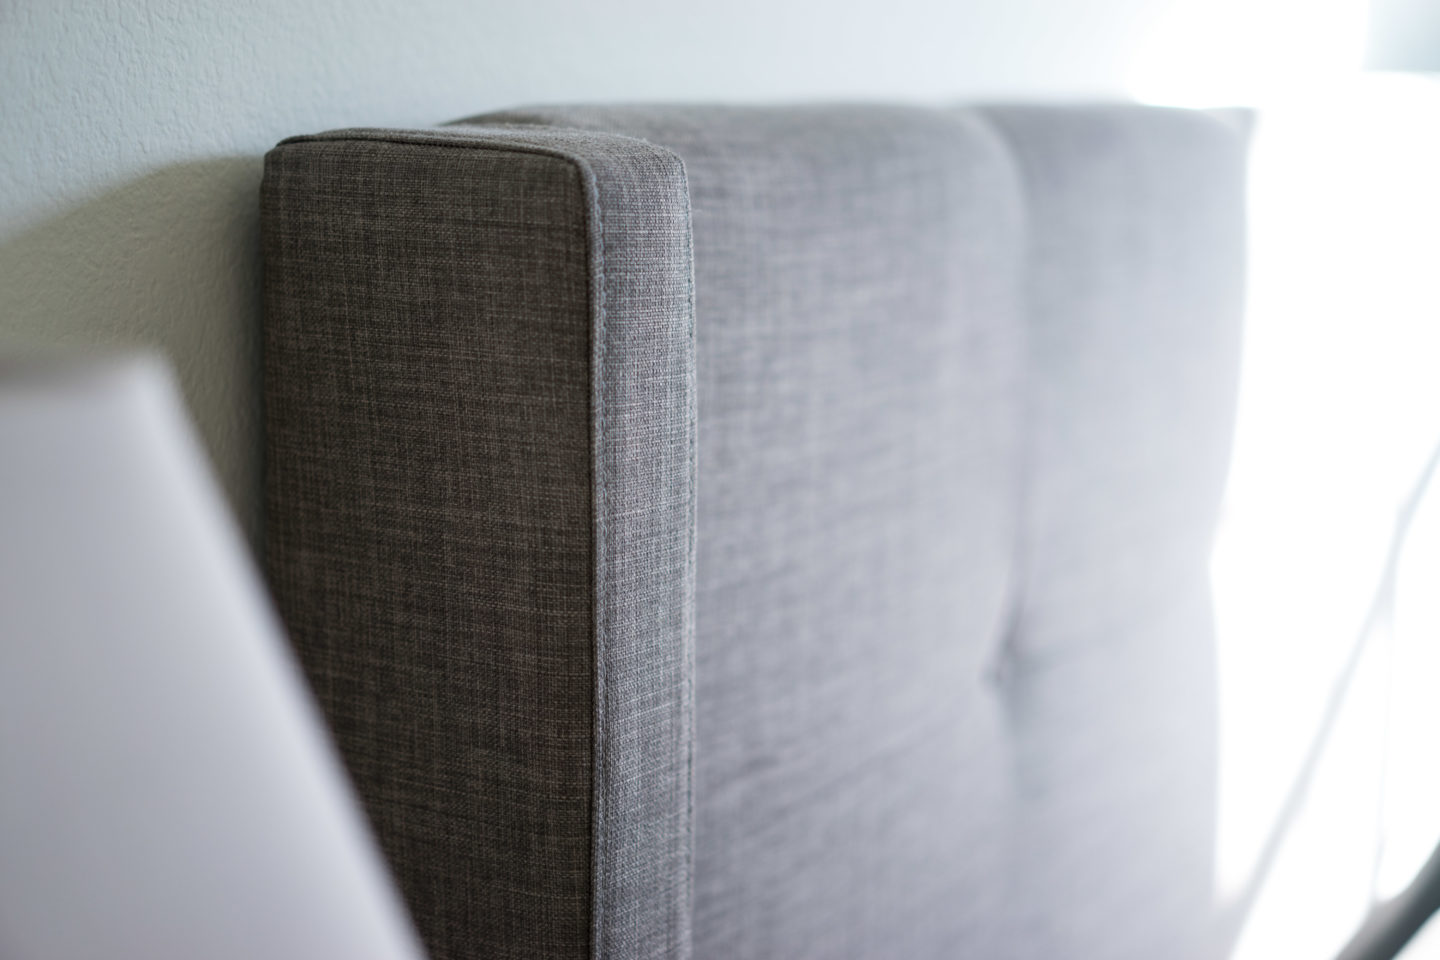
Here’s a look at the before:

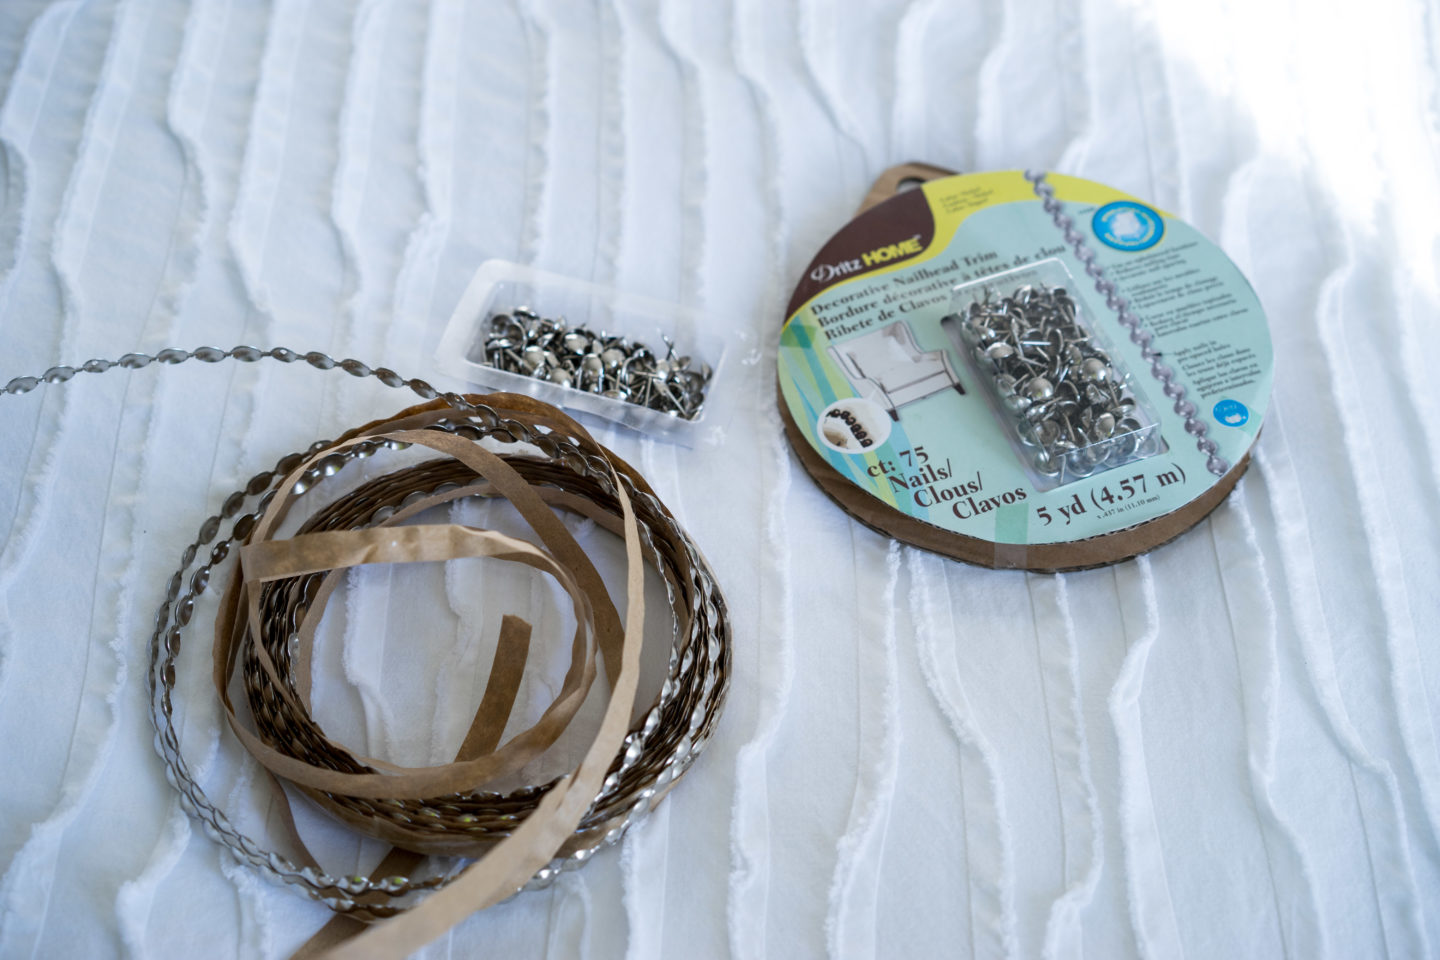
The trim comes equipped with everything you need for only $12.50 for 5 yards! I bought two because I initially wanted two rows of trim on each side, but after doing one we thought it might look too crowded and difficult to get them both straight, so we left it.
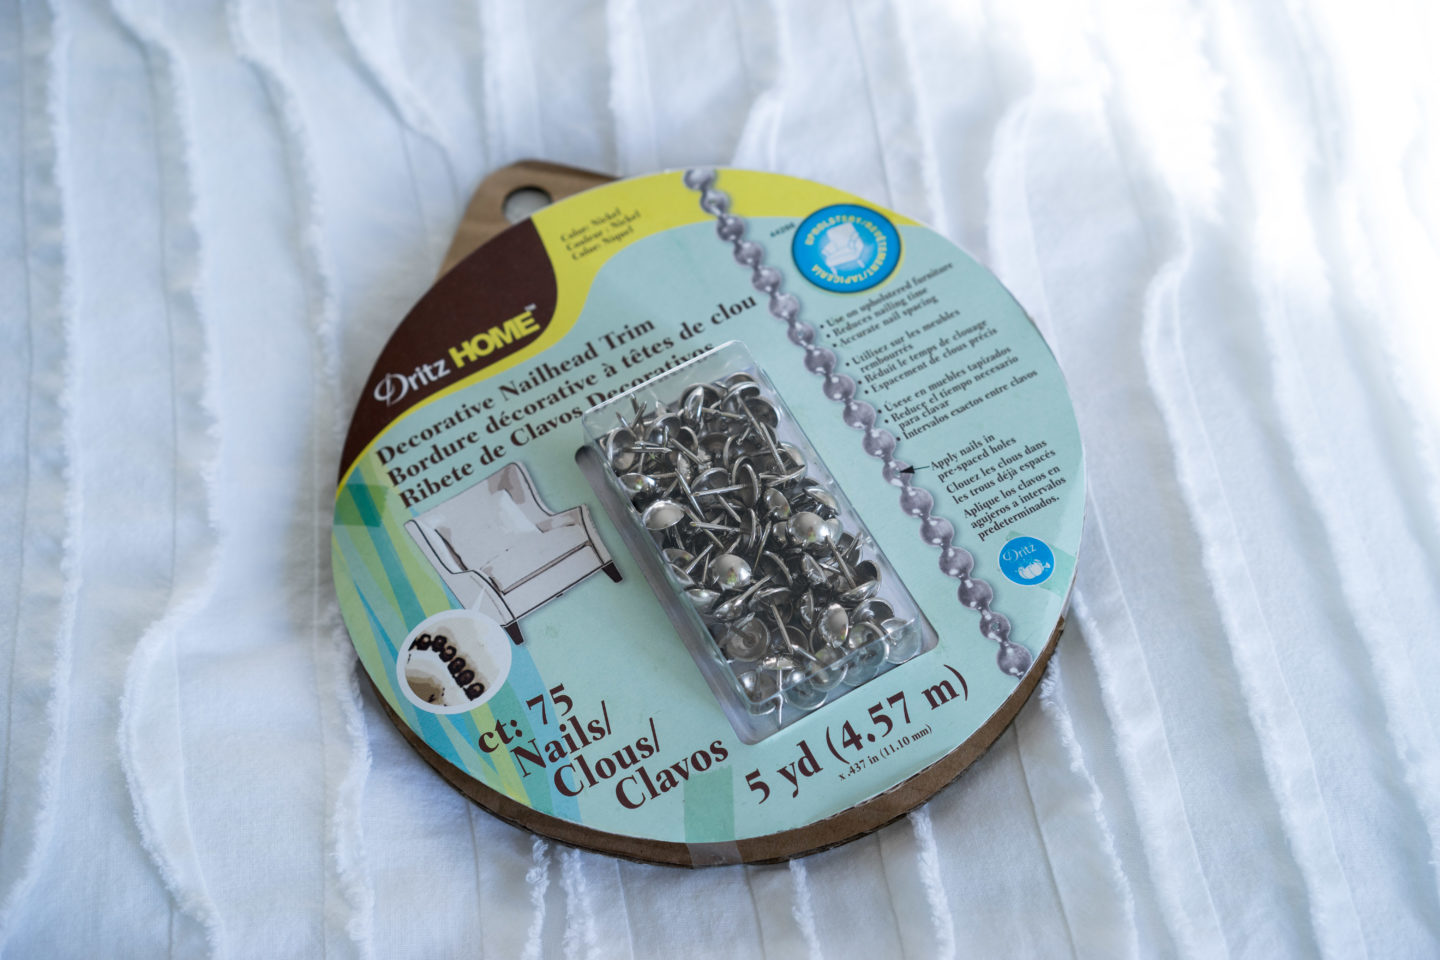
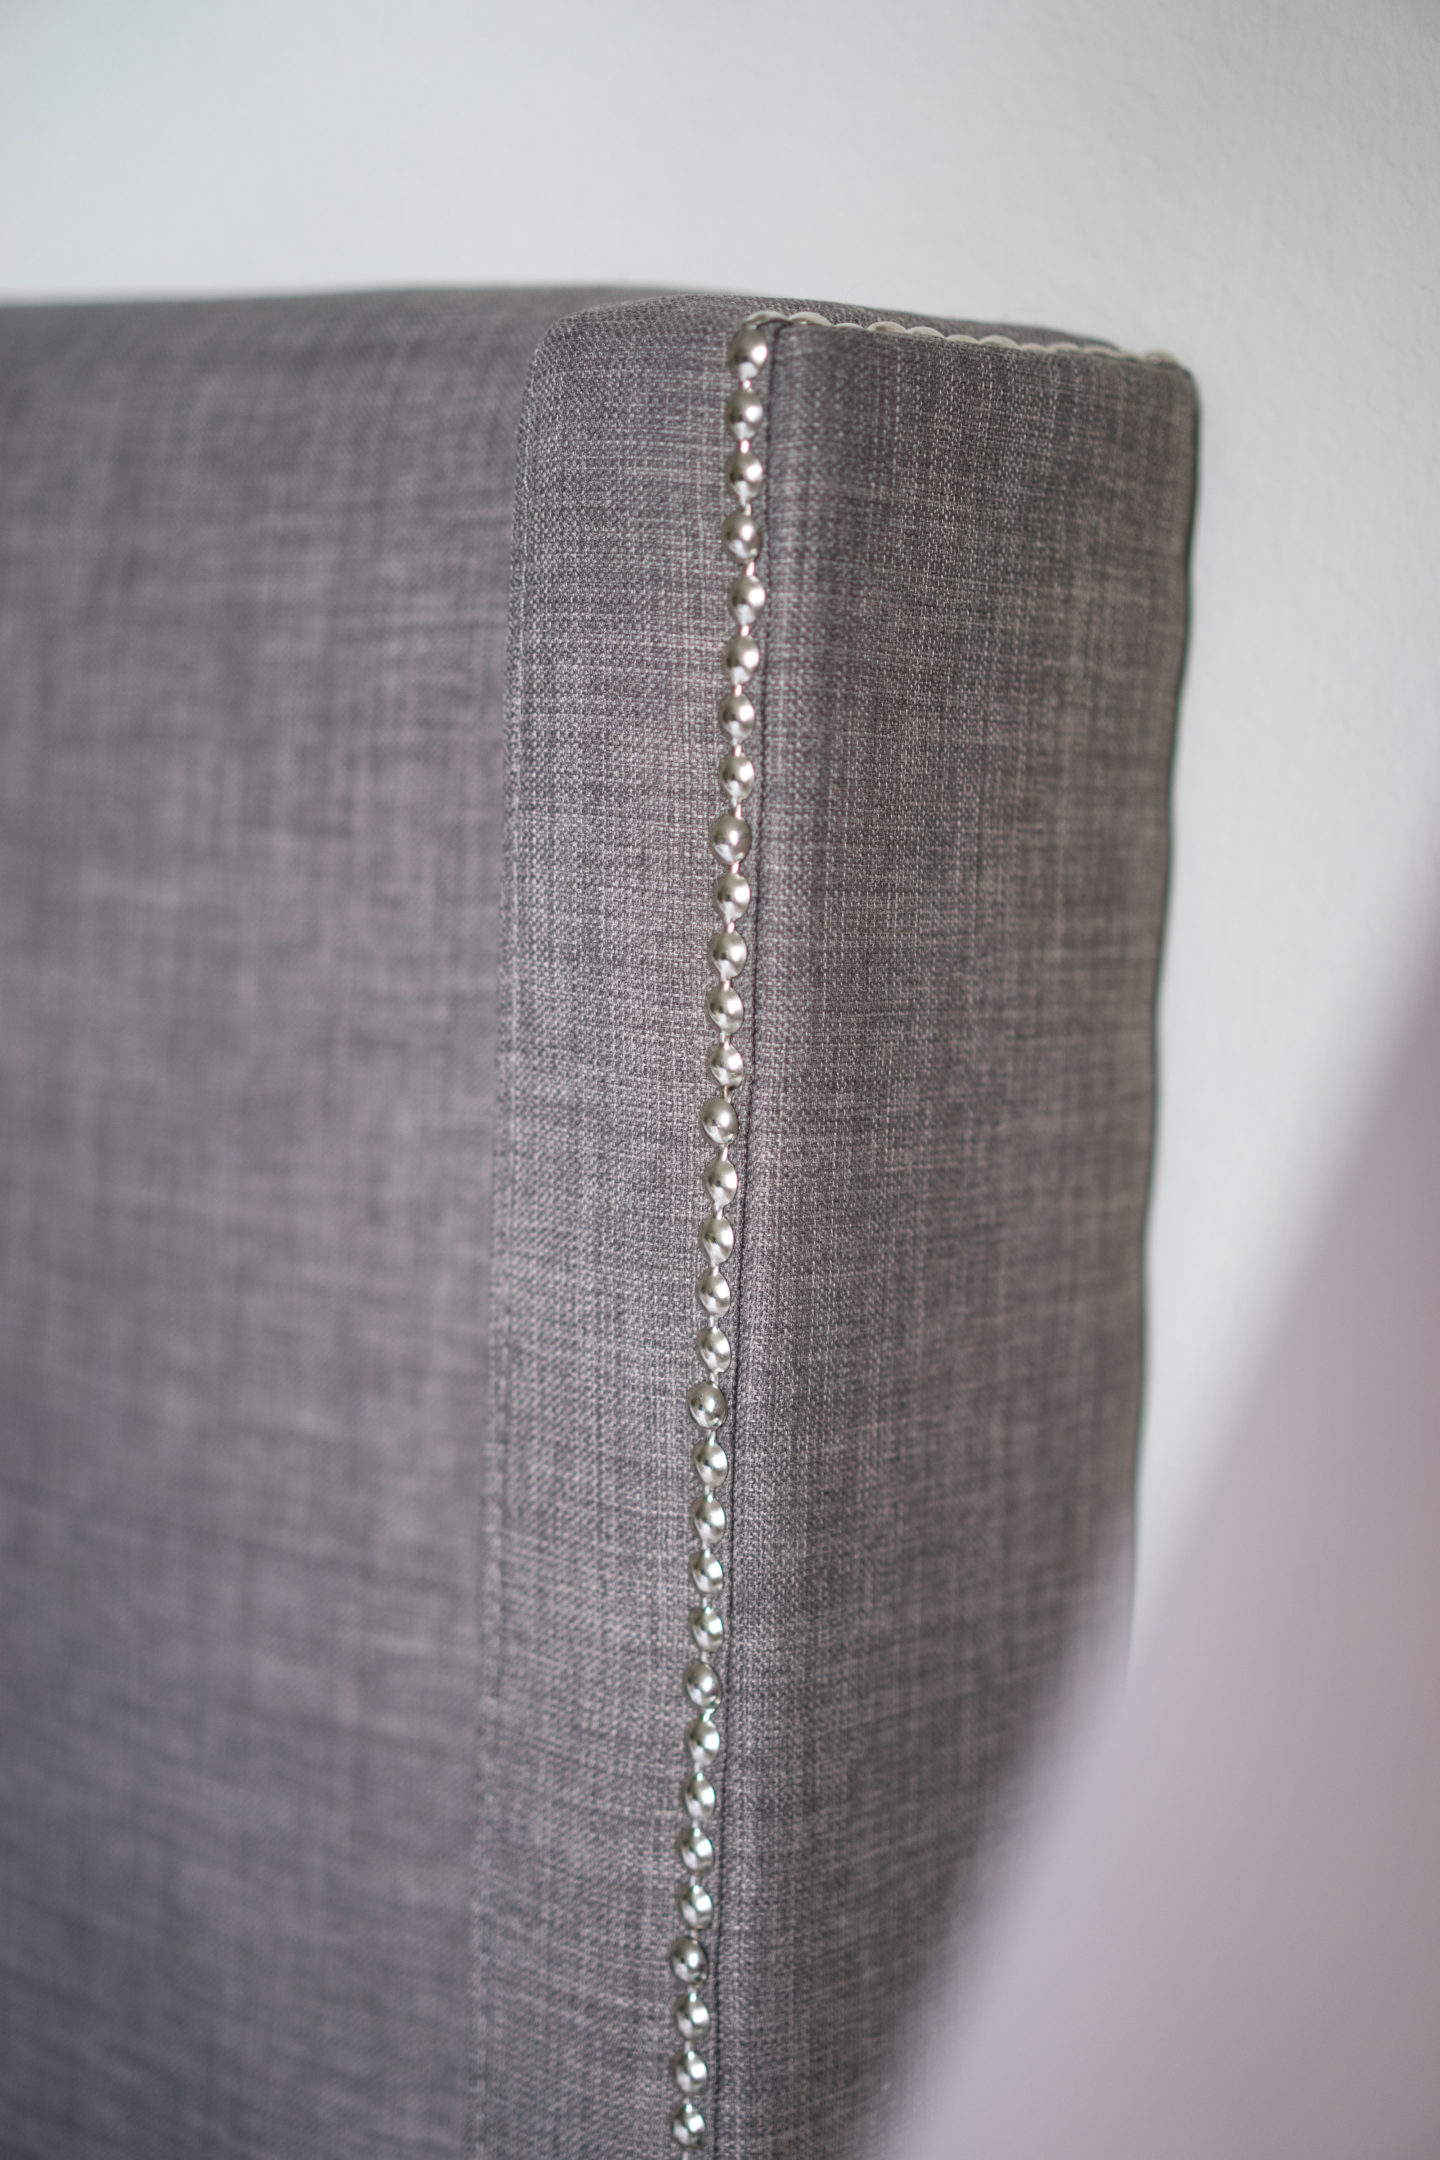
See those little holes? You just hammer in the provided nails and they cover them up and blend into the rest of the trim. That’s another reason it’s difficult to get straight, because the nails are slightly larger than the rest so if it’s nailed in at even the slightest angle, it’s extremely obvious.
The finished look! 🙂


Love love love.
I love this! How clever. All this time I thought you had to hammer each and every one of those little nailheads in. Who knew? Well, obviously you did. Thanks for the tip! xoxoxo
Author
Thanks ma!! Amazon knew, that’s who! 😛